Unlimited possibilities
Industrial image processing forms the basis for a huge number of positive effects and developments: safety, efficient use of materials, optimal form, function and quality – an overall increase in productivity. All these are the result of high-efficiency image processing.
The possibilities are as varied as our solutions.
Application sorted by industries
- Automobileindustrie
- Food Industry
- Metal Industry
- Electrical industry
- Pharmaceutical Industry
- Overarching
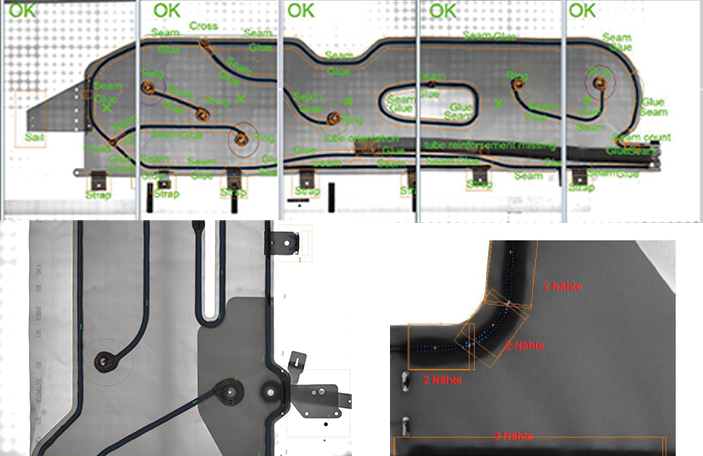
Airbag testing
A special and very easy-to-use algorithm checks the continuous presence of the seams and their correct course within the adhesive mass.
Automatic packing:
- Automatic measurement of the containers and deposit position
- Folding over support points
- Guard fenceless operation
- Containers are transported on and off via AGVs
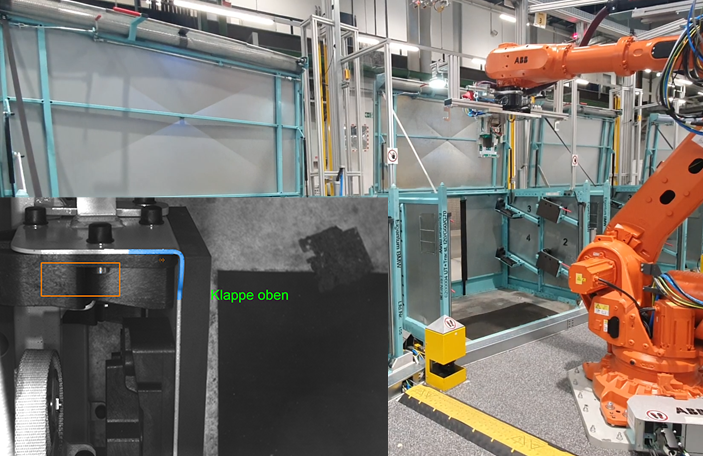
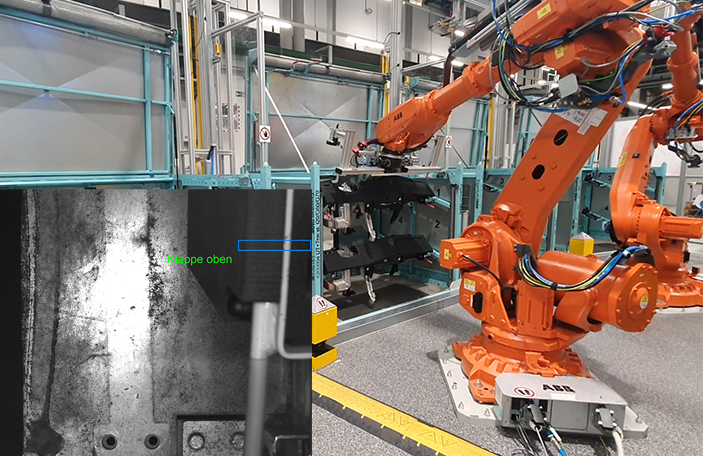
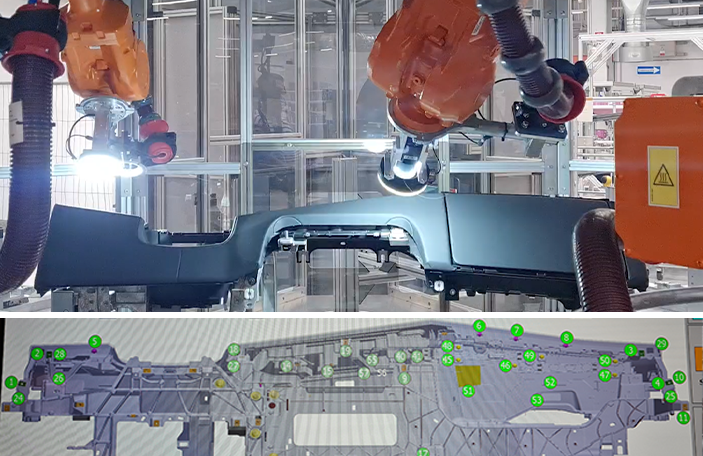
End of Line Testing Dashboard
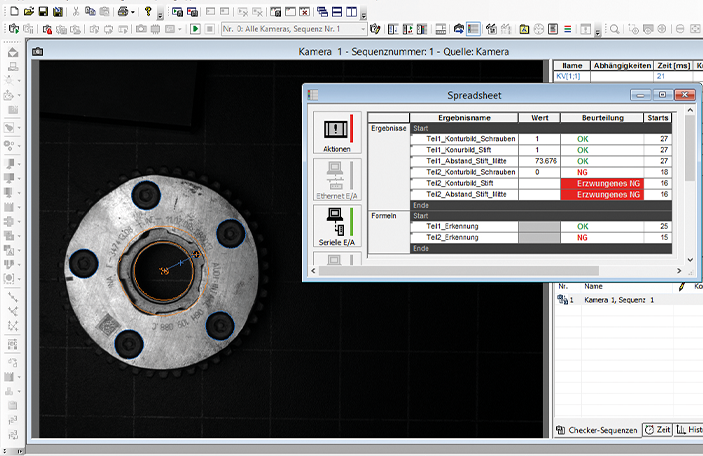
- Automatic EOL of different I-board types
- 86 Characteristics for presence and correct length
- 2 Measuring tasks
- Total cycle time: 23.5 sec.
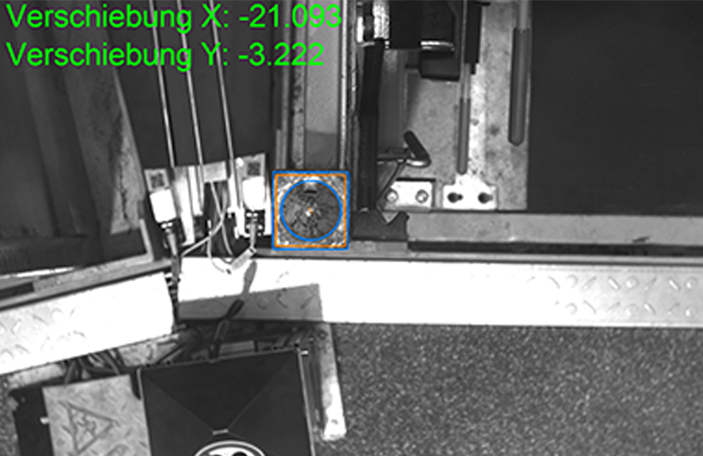
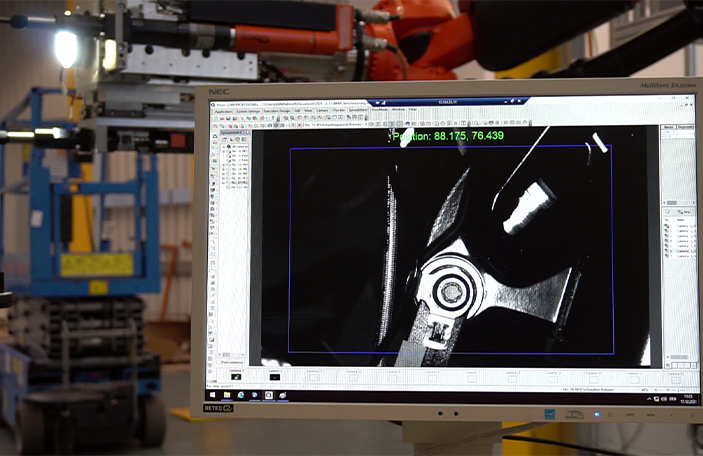
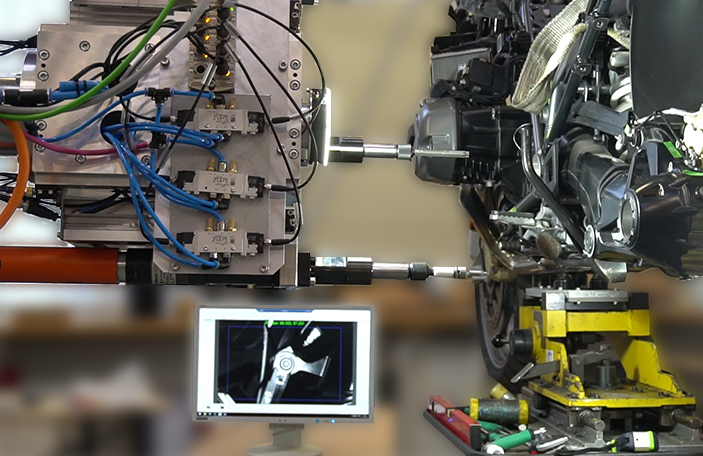
Motorcycle screwing
- Measurement on the motorcycle
- Image acquisition before each screw point
- Transfer of the coordinates to the robot
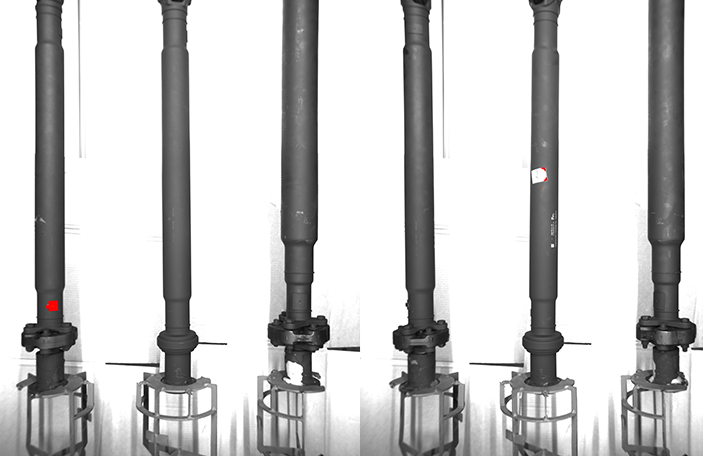
Cardan shaft error detection
Quality Control
Inspection for paint defects & grease residues

Carbon brake discs
Production monitoring
During the inspection of the bonding surfaces, a brightness detection with the "Extraction Checker" function is used and the component is checked.
Bearing identification
Inline production control
The camera checks the position and quality
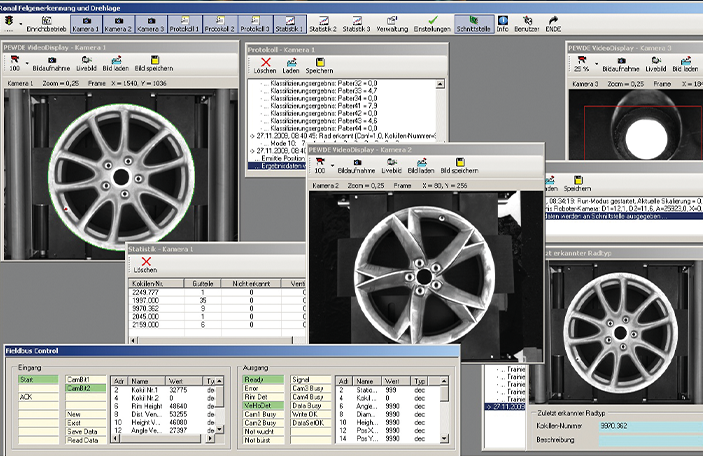
Rim type detection and classification
Measurement and detection of height, width, design and valve hole.
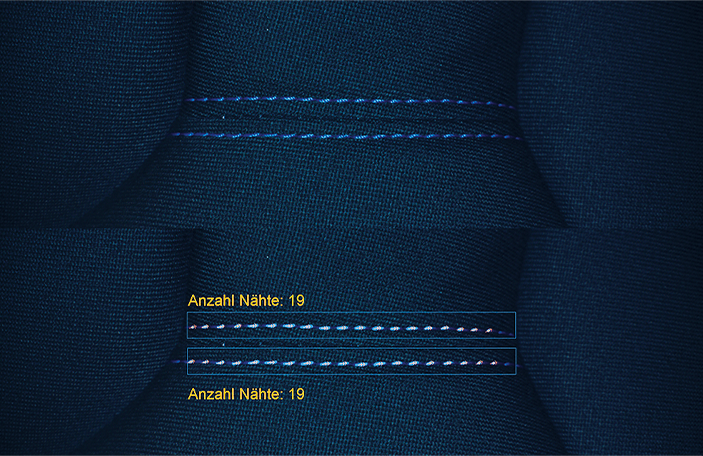
Number & expression of seams
Reliable seam inspection with little contrast or color difference.
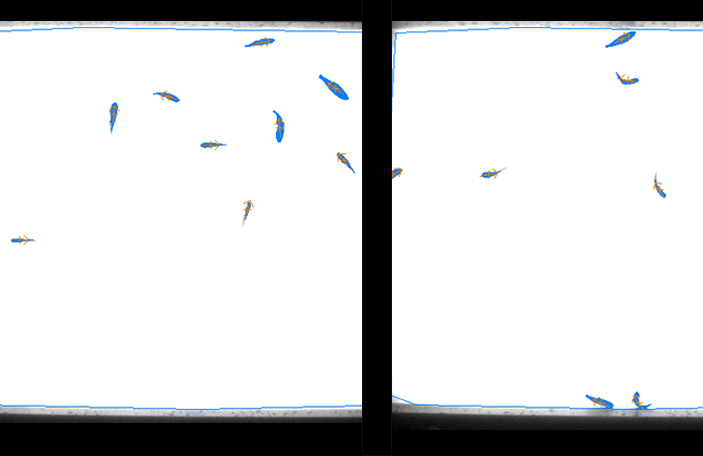
Fish detection
Counting and tracking fish within a tank
Beverage testing
Labels, print image & crown seal inspection

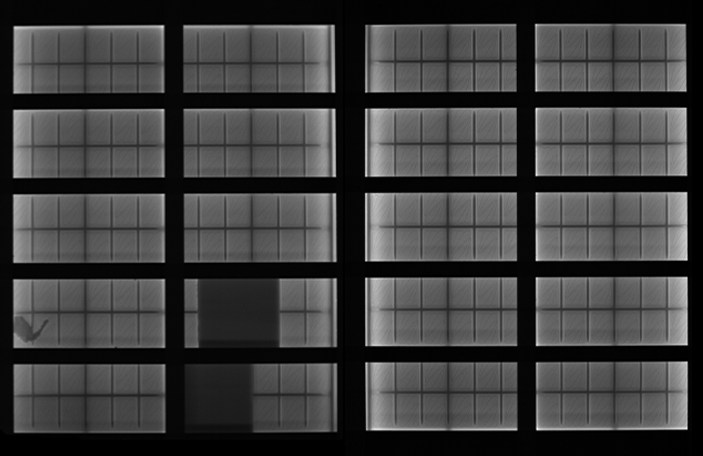
Chocolate bar testing
Defect detection of branded chocolate bars
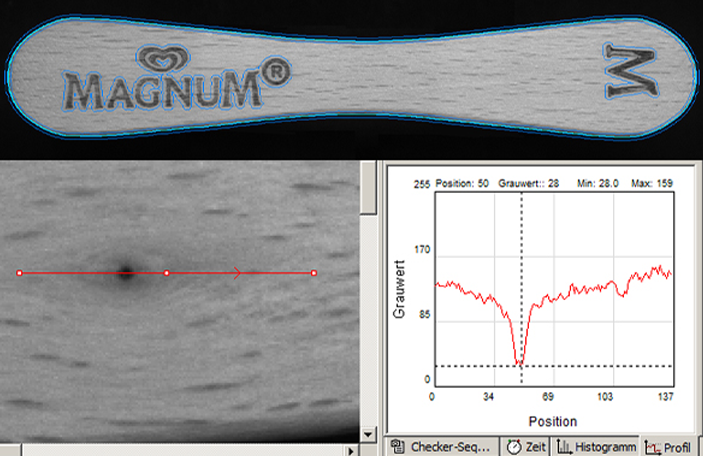
Eissticks-Prüfung
Contour comparison, wood structure check, plain text reading & format check
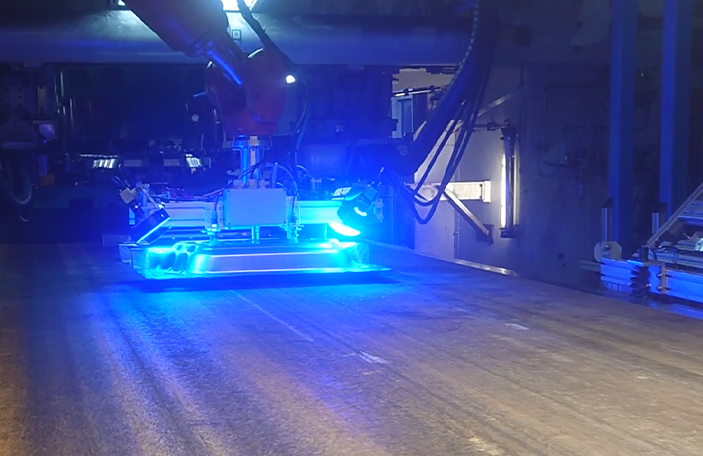
Testing on the transfer press
Testing of components at the end of a transfer press
Check for cracks & constrictions
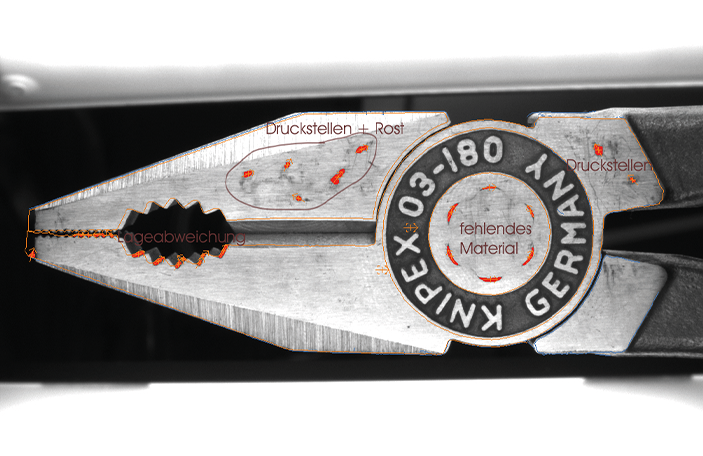
Tool inspection
Checking the quality
Detection of various errors
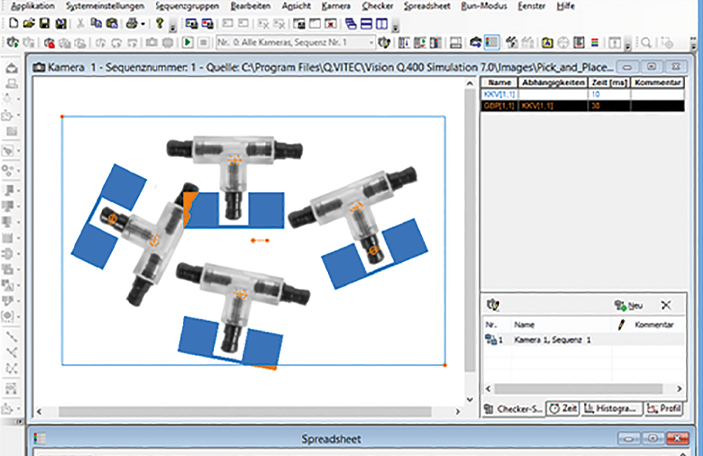
Pick & Place
Contour comparison/feature extraction
To prevent damage to adjacent parts preventis checked for collisions in the freely definable gripping area.
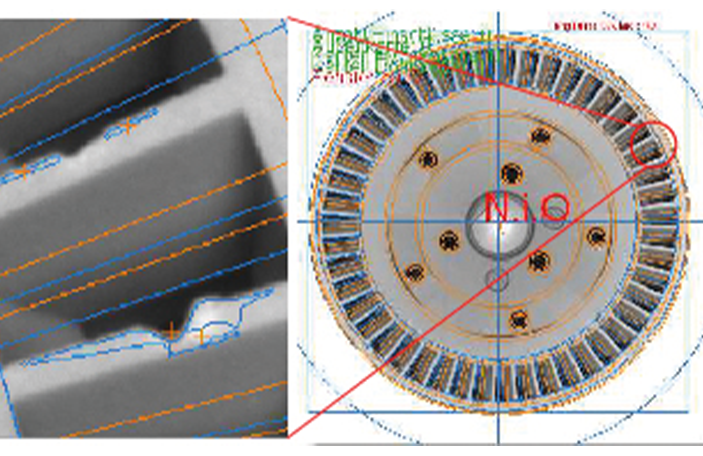
Breakout control
Testing & Surveying
Detection of defects
Breakout control on turbine wheels.
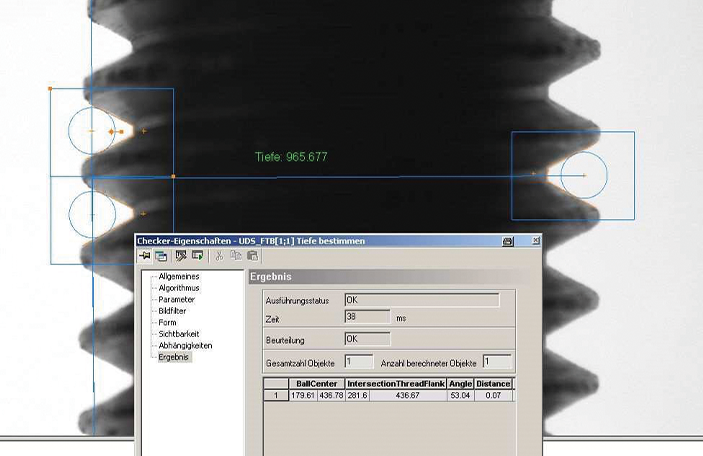
Screw testing
Thread testing
Thread pitch measurement
Applicable for quality or grade purity testing of screws
Plug contact test
Monitoring electroplating processes
Coating inspection
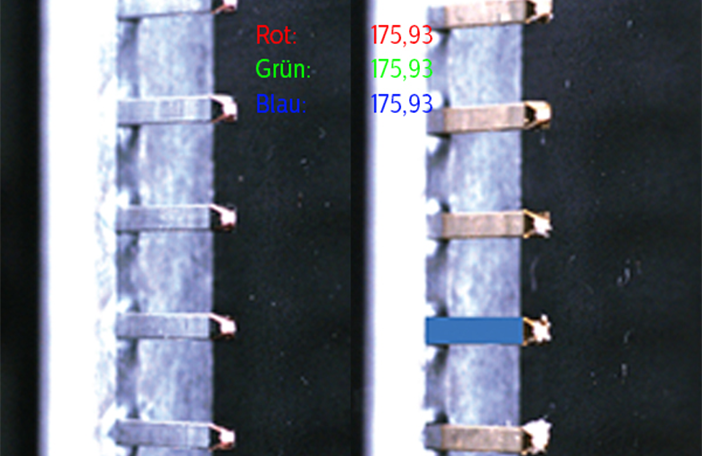
Contact check
Measurement and analysis
Detection of defects
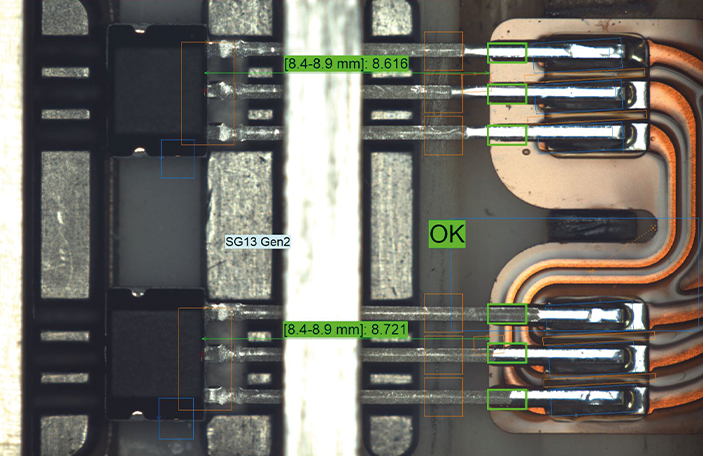
Circuit board inspection
Complete surface analysis
Component testing
Checking of bonding surfaces for smallest surface defects, placement control and measurement of the component
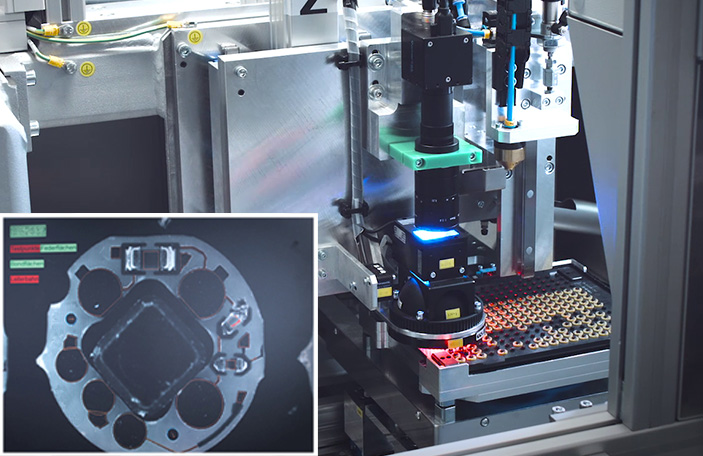
Clamp test
Completeness check
Read plain text
Joining and completeness check on terminals as well as printing check at high speed
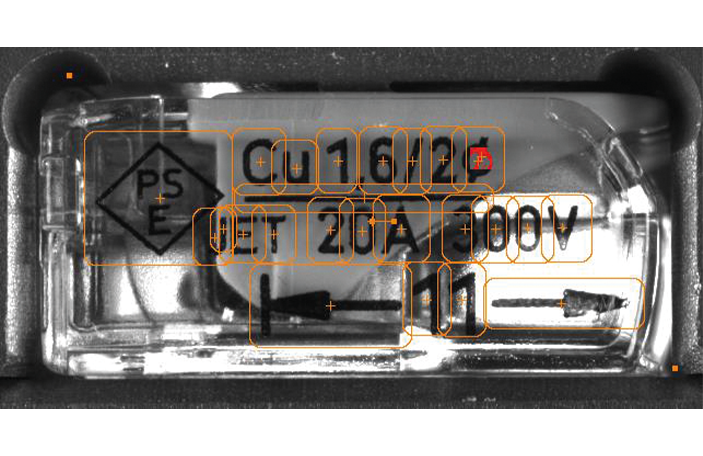
Solder joint inspection
Quality Control
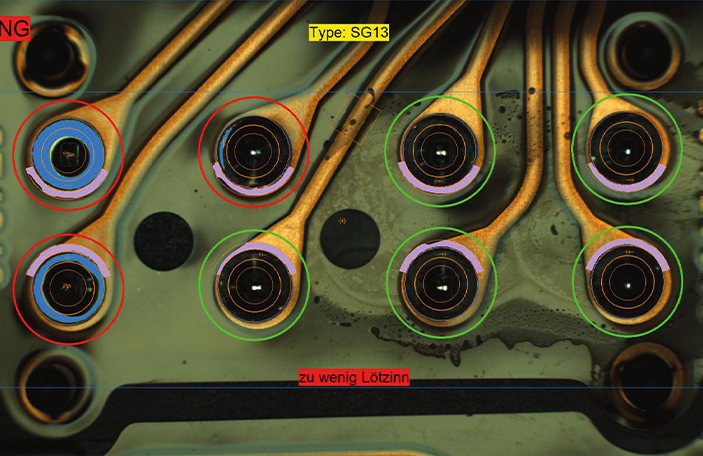
Solder joint monitoring
Robot-guided solder joint inspection on an automotive sensor
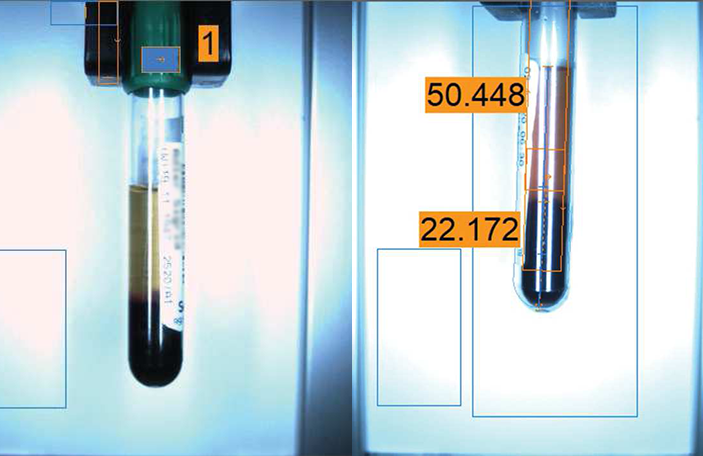
Test tube control
Color recognition of the caps, as well as fill level control and bar code reading
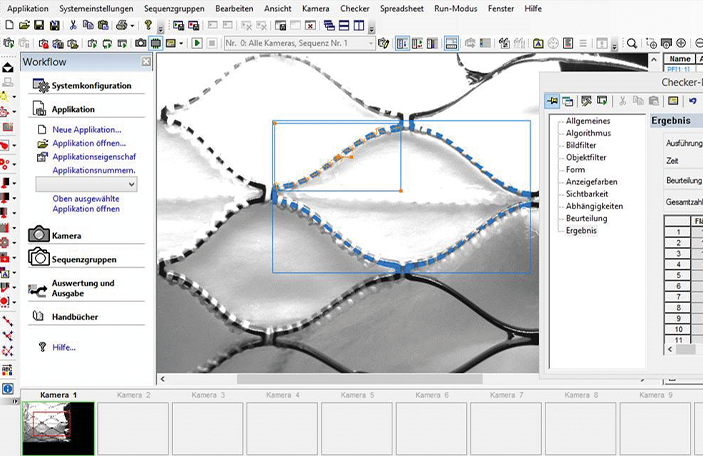
Aortic valve testing
Seam control
Checking manually created seams for the prescribed number of stitches within an area
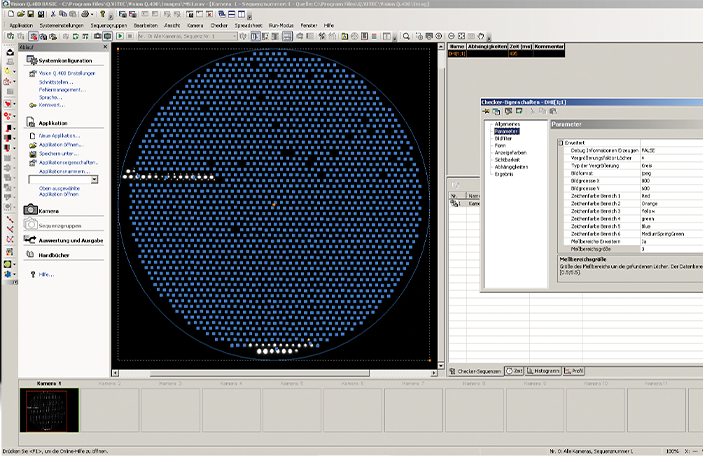
Membrane testing
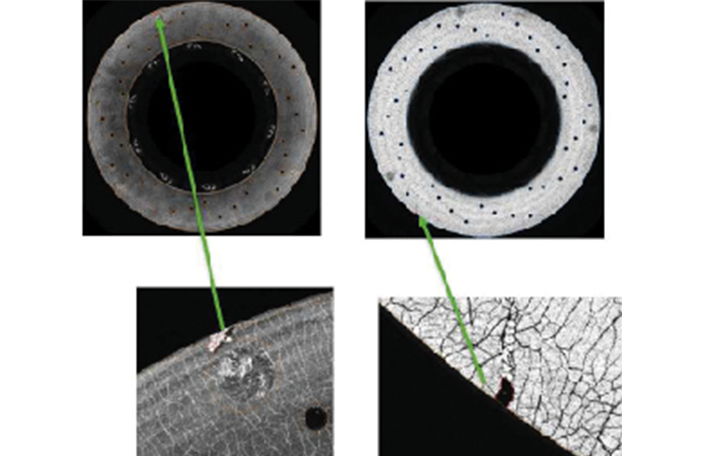
Quality inspection (membrane drill hole inspection)
Monitoring of the micro-holes for size and continuity
Fill level control
Fluid testing
Detection of filling levels

Bacteria testing
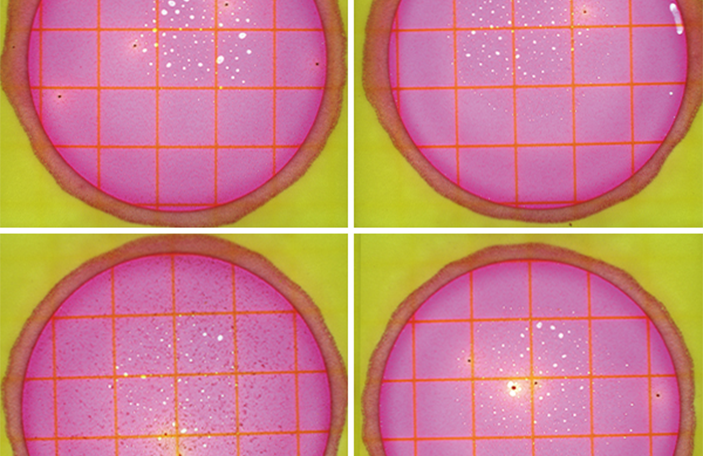
Monitoring of bacteria cultures
Counting bacteria
Testing of gaskets
Error Detection
Check damage to the sealing surface
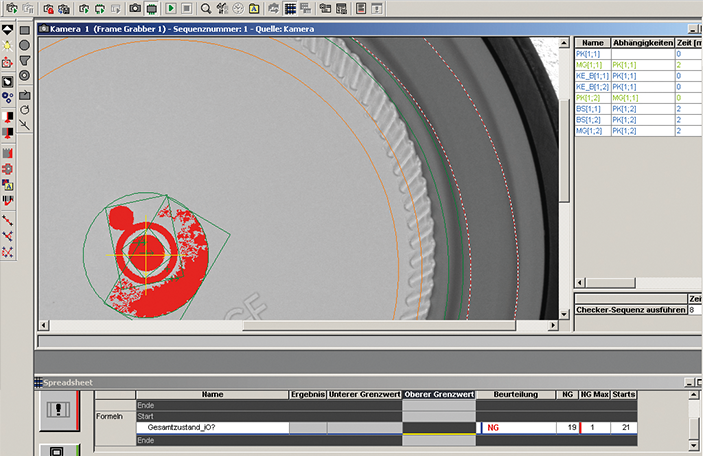
Adhesive bead inspection
adhesive & weld seam testing
Quality check
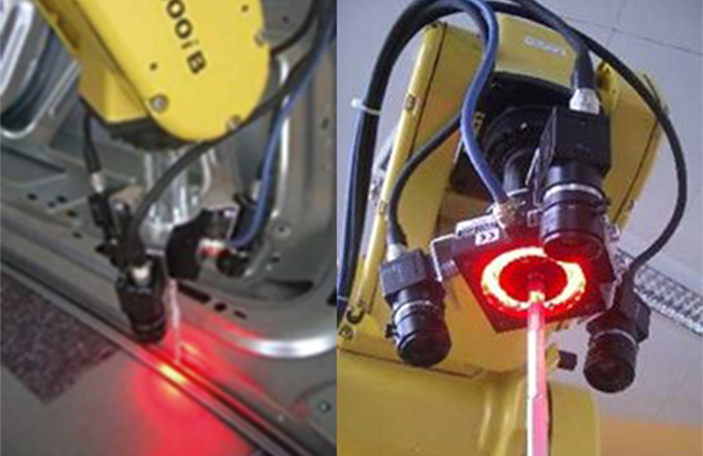
Robot-guided 3D adhesive bead inspection in the automotive sector
Depalletizing
Bearing identification
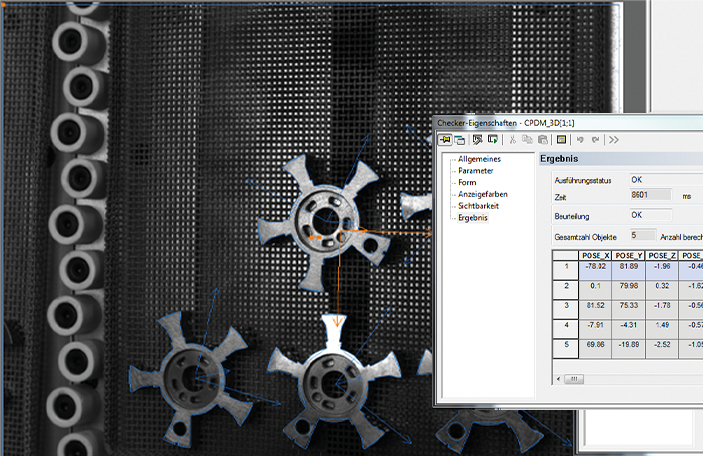
3D gripping position for robots
Automatic 3D gripper position detection for (de)palletizing of sintered metal parts
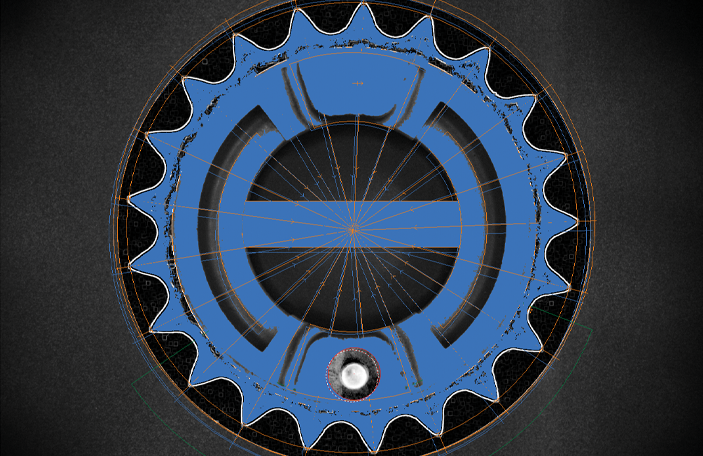
Component measurement
Dimensional accuracy & contour inspection (gear wheel measurement)
Surveying & Geometric Analysis
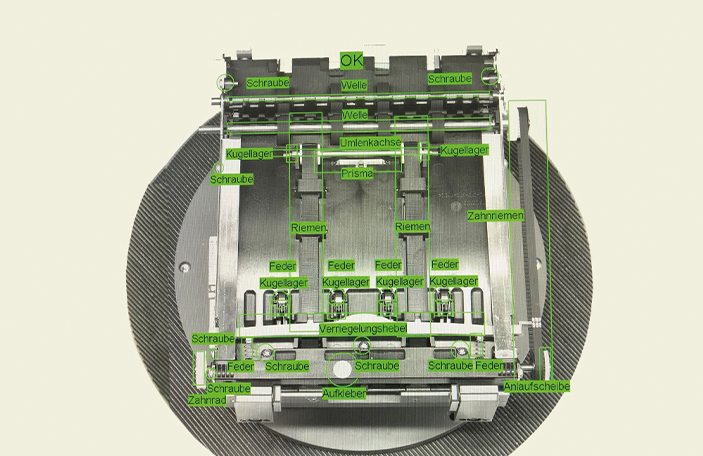
Assembly monitoring
Completeness check
Assembly monitoring of manual workstations for completeness control. Later hidden components are automatically checked for completeness during assembly.
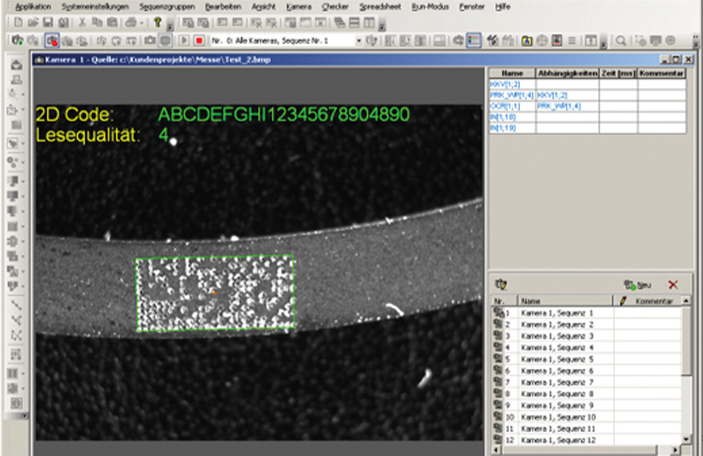
Code evaluation
Code reading (piston rings)
Code size: 2mm x 5mm testable
Reading matrix codes and checking marking quality according to AIM DPM-1-2006
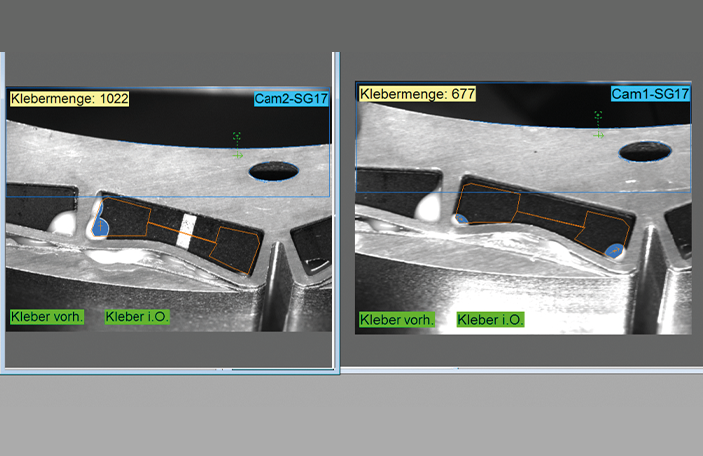
Runtime monitoring
Fill level detection
Automatic metering quantity determination during metering to determine the optimum adhesive quantity
Not found what you were looking for?
Contact us, together we will find the perfect solution for your project.
ManagementPurchase / Sale
Markus PrausHead of Sales
+49 (0)5031 – 949 43-20
info@qvitec.de
+49 (0)171 – 170 20 53
m.praus@qvitec.de
